
So I finally took on the neat challenge that is Landing Force, SNIPER ELITE 5‘s second story DLC. The first being Wolf Mountain, of course. As with pretty much any mission in a SNIPER ELITE-game, the Landing Force DLC offers main objectives and optional ones.
The Mission
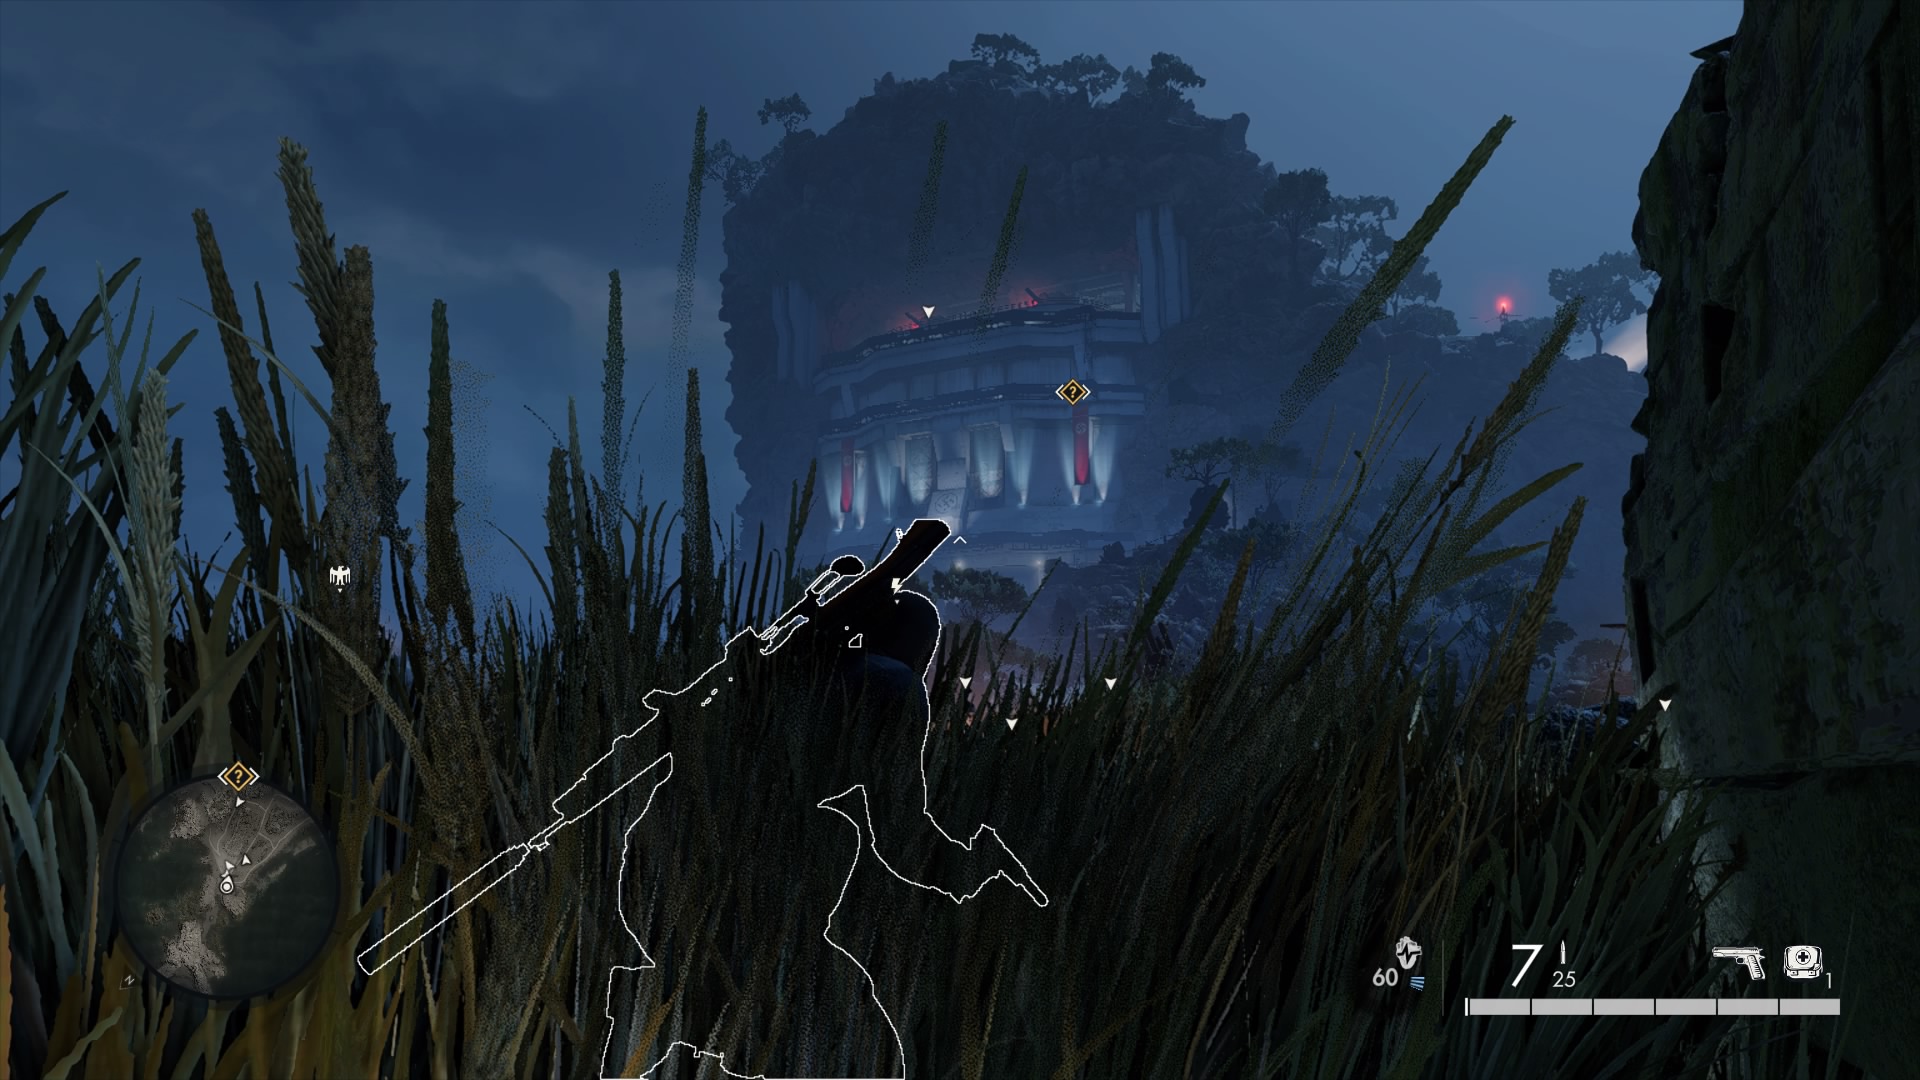
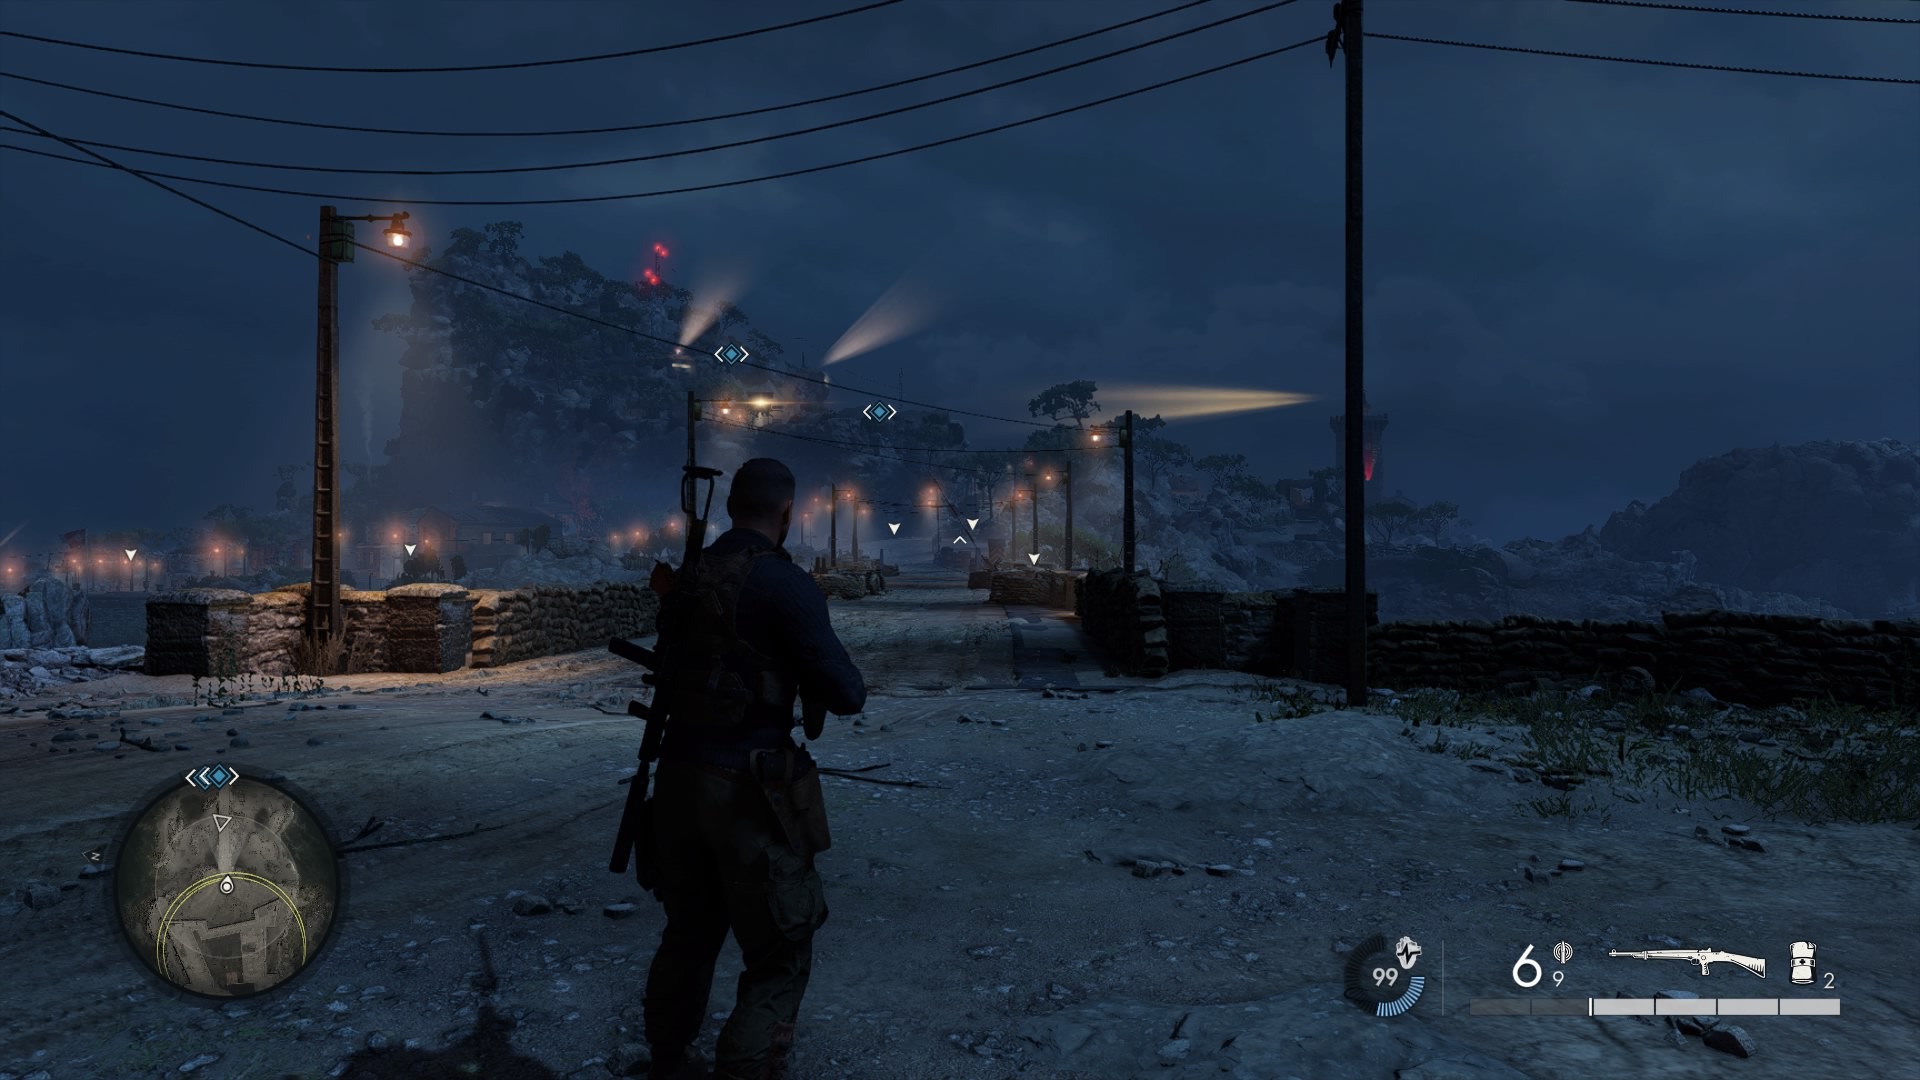
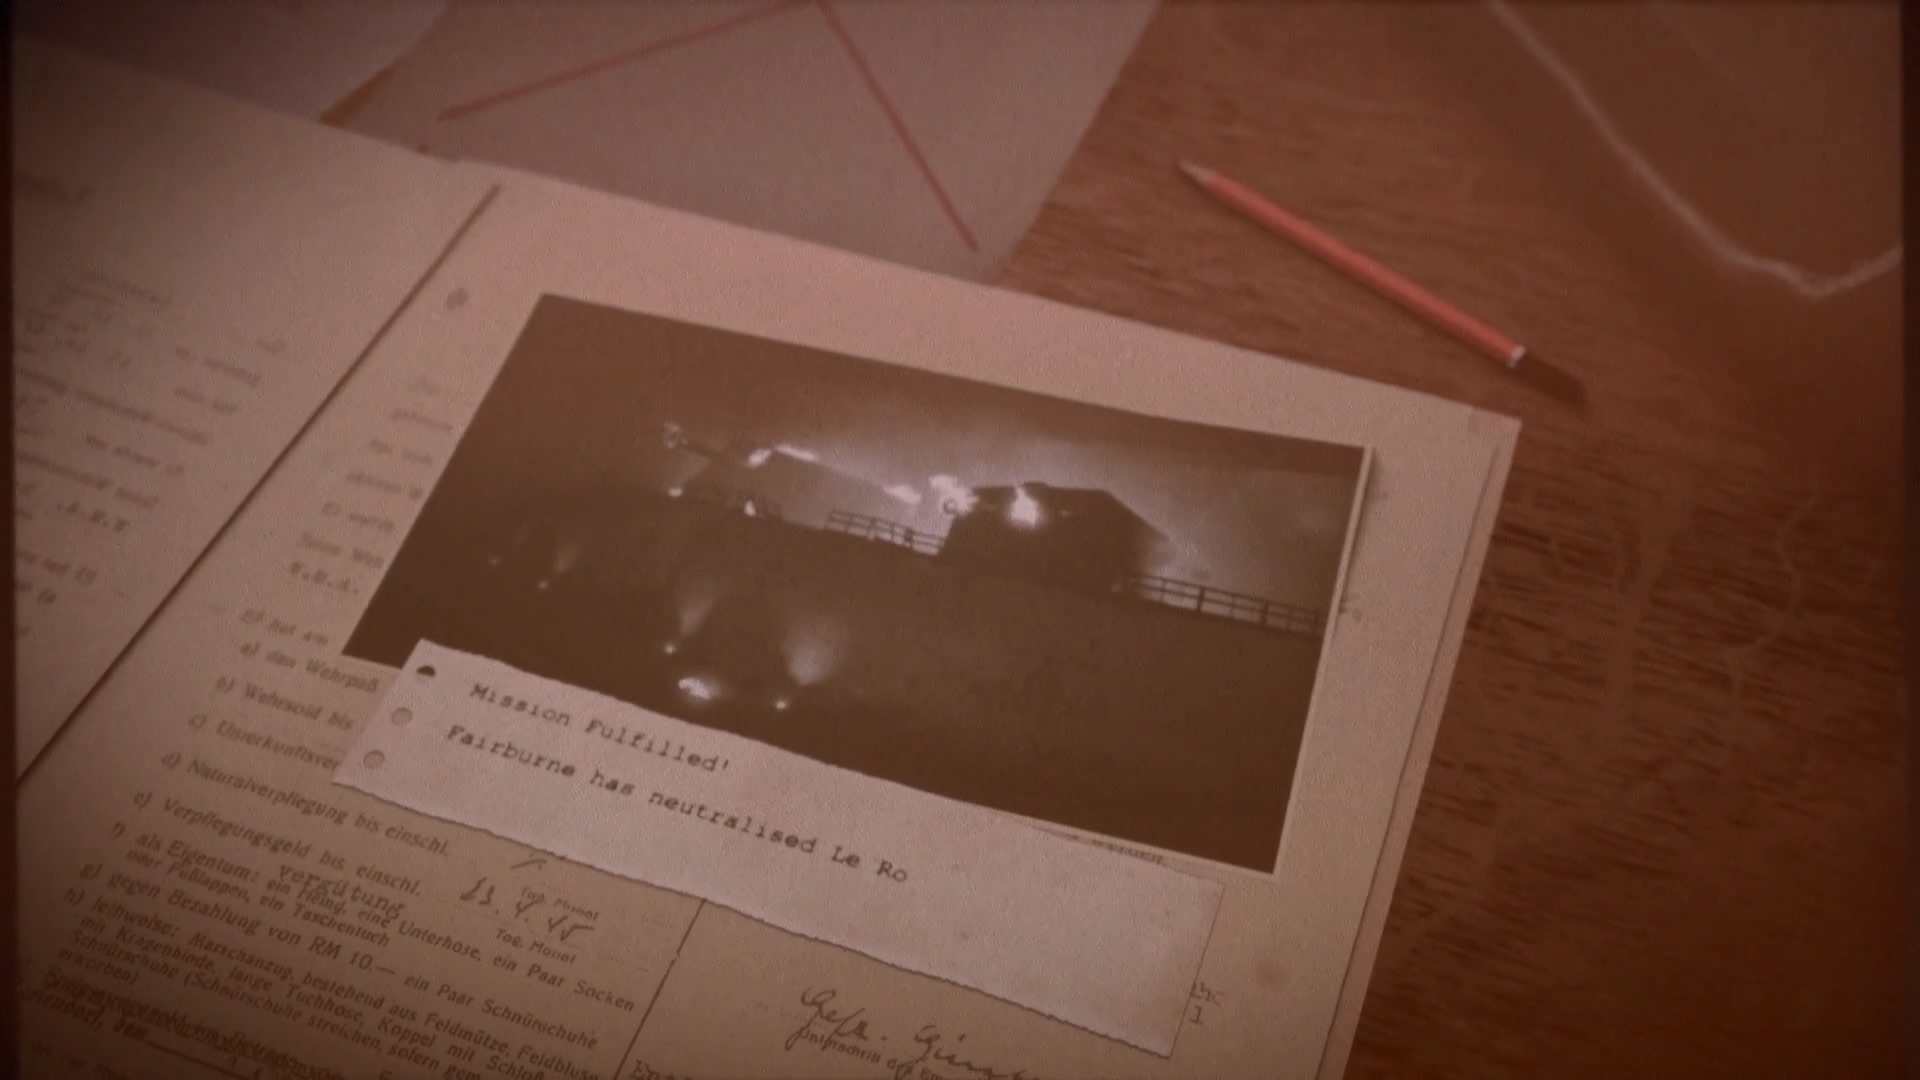
In preparation of the landing of the allied forces on France’s southern beaches Karl Fairburne is tasked with disabling the defenses of the island of Le Rocher. To do so, he has to disable the main guns and the lighthouse. In passing, he can also check another subject – Hermann Kraus – off of his kill list. The other, optional objectives you will discover during the mission.
Le Rocher is crawling with soldiers. There are hardly any stretches of beaches or rocks where you will not find a soldier lurking about. Which is one of the challenges of this mission. There are some vantage points you can use for sniping, but mainly you will be embroiled in close quarters combat or sneaking about as stealthily as possible.
I have played this mission twice on Sniper Elite-difficulty, but my sleekest playthrough I did on Cadet-Difficulty, and that one I will be describing here. I am pretty sure I could have pulled that one off on the harder difficulty, too, but – trying something very specific – I did not want to take any chances.
What was my objective? Be as stealthy as possible. That meant having the Germans scuttle the guns themselves, disabling radio communications without too much of a fuss and killing Kraus via poison. I would not be able to stealthily take over the light house, that I was pretty sure of. But then I found a way…
Here we go.
The Arsenal
Since I wanted to be as quiet as possible I packed mostly subsonic rifle ammo and put a muzzzle on both the SMG and the pistol.
I also used teller mines and grenades to sow confusion and mayhem and leave traps for potential pursuers or nosy would-be investigators.
One Smooth Operation
During my previous playthoughs I always opted for taking out the main guns first – after I had sunk the docked submarine, which is your optional objective number one. That is a reasonable choice, and you will have two ways of doing that. But, there is a better way. If you want to do this super stealthy, you will want the Nazis to scuttle the guns for you. For that you need two parts of a code.
In case that you are as impatient as I was in the beginning, there are the two alternative ways of disabling the guns. To achieve one, you need a crowbar. You will find one inside the installation. To get there, sneak across the beach ahead, take out the sniper and find your way left around the mountain the guns are placed on. You will find an entrance to the left, where you can infiltrate underground. Once you reach the end of the tunnel, head up the ladder and climb the face of the structure to get to where the guns are. There, you can either sabotage the live rounds or pick up a crowbar in the back of the installation to take out the generators one level down.
Now, for my way. This one was a smooth operation since I never had to go back to any of the major locations. So it also saves you some time.
Taking Care Of Kraus
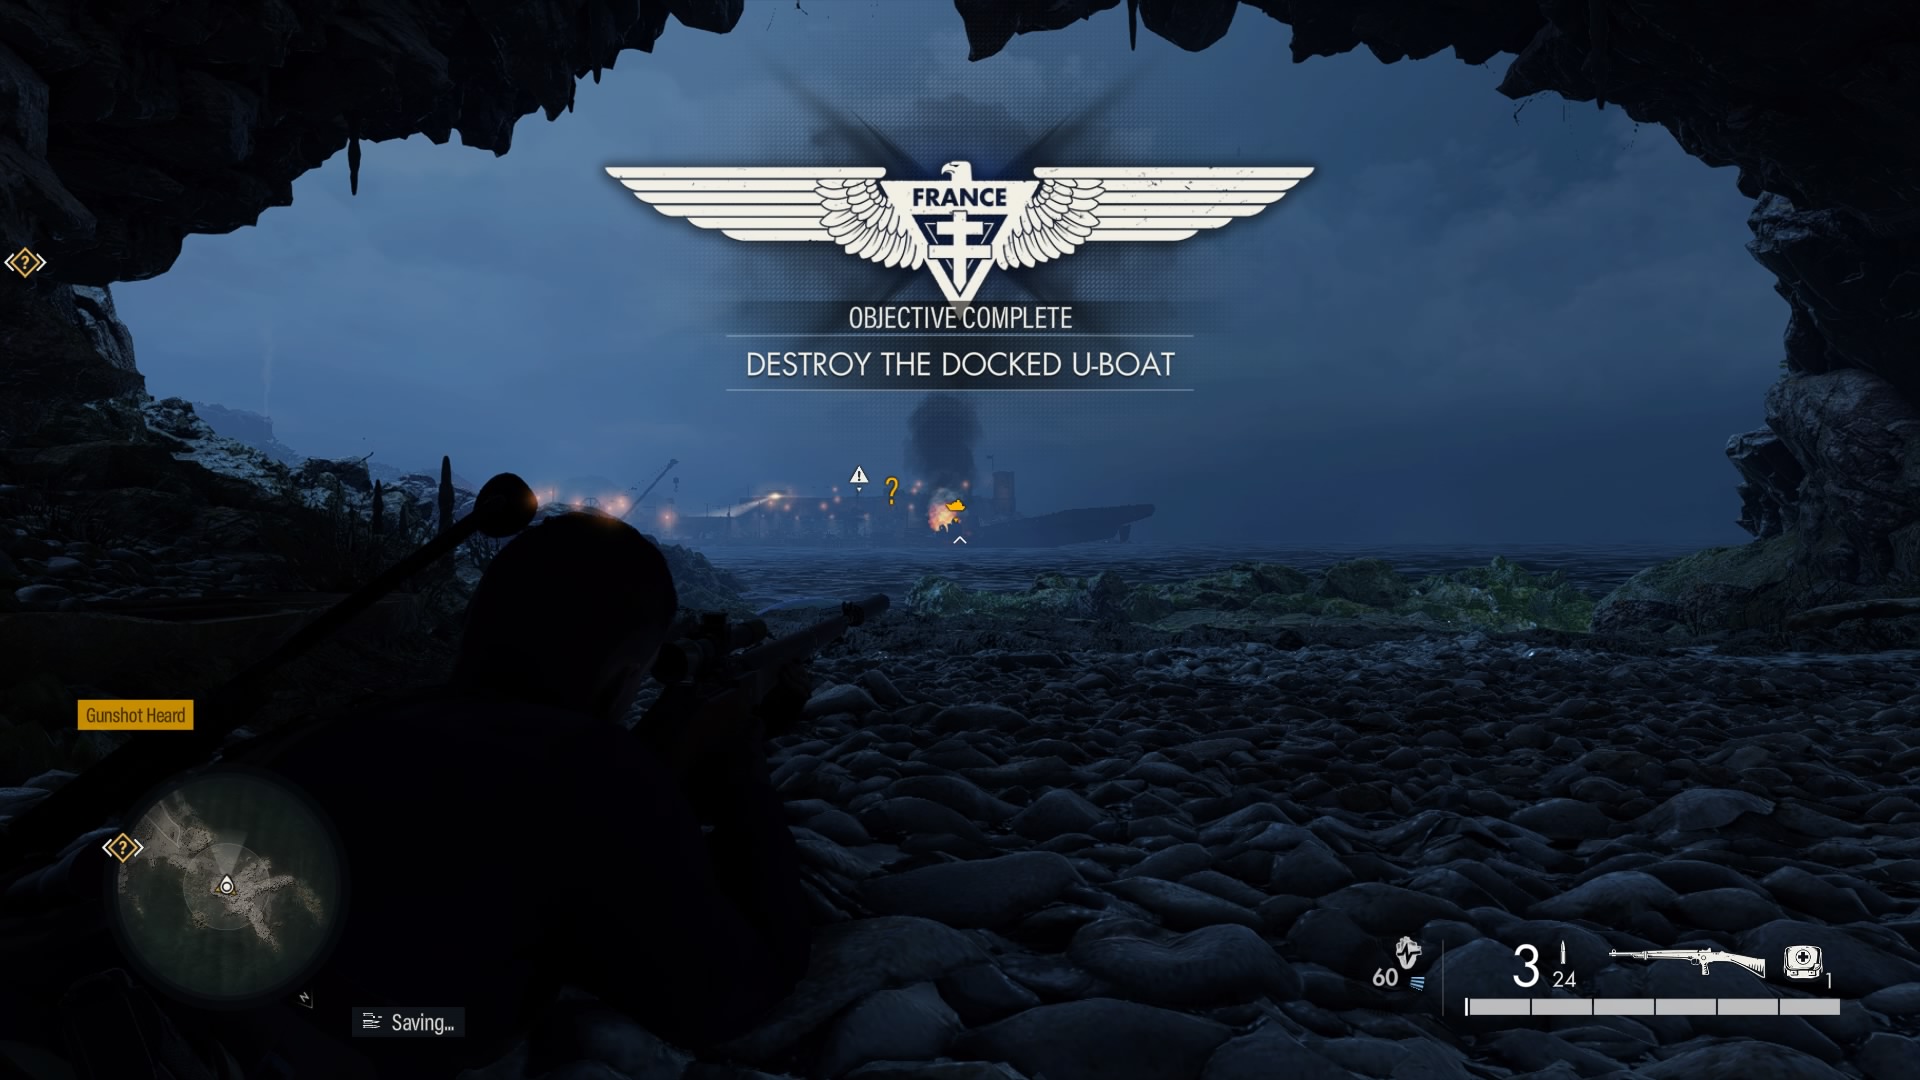
Once you arrive at the initial starting point, you will catch a first glimpse of the harbor fort on the other side of the cove. There is a sniper guarding it from atop a tower. Use silenced ammo to take him out. As you scan the area with your binoculars, you will also discover a docked u-boat. You can shoot a fuel tank to sink it, but best also use silenced ammo, as there is a gun boat patrolling the waters nearby. That’s your first obtional objective taken care of.
Once the submarine is destroyed, quickly make your way out of the cave and left into the high grass on the beach, from where you can leisurely tag various soldiers hanging around the area. There are three in the vicinity that you have to keep an eye one. Especially the one patrolling to the right, towards the small village.
Once an opportune moment arrives, sneak along the right side of the beach, taking advantage of the high grass to grant you cover. Tag any enemy inside the village you can see. The first building on the waterfront is a restaurant. In its storage room you will find a vial of poison. Sneak past the guard patrolling there and pick up that vial. Next, head back the way you came towards the stairs leading up to the next row of buildings. There is another guard you will have to look out for. Sneak past him up the stairs into the building he is guarding or move past it. Either way, you need to get to the back of the house. To your left, you will spot a way up to the first floor of the next building. That is where you need to go next. Sneak up there and restock on ammo and whatever you need, but especially the satchel bombs.
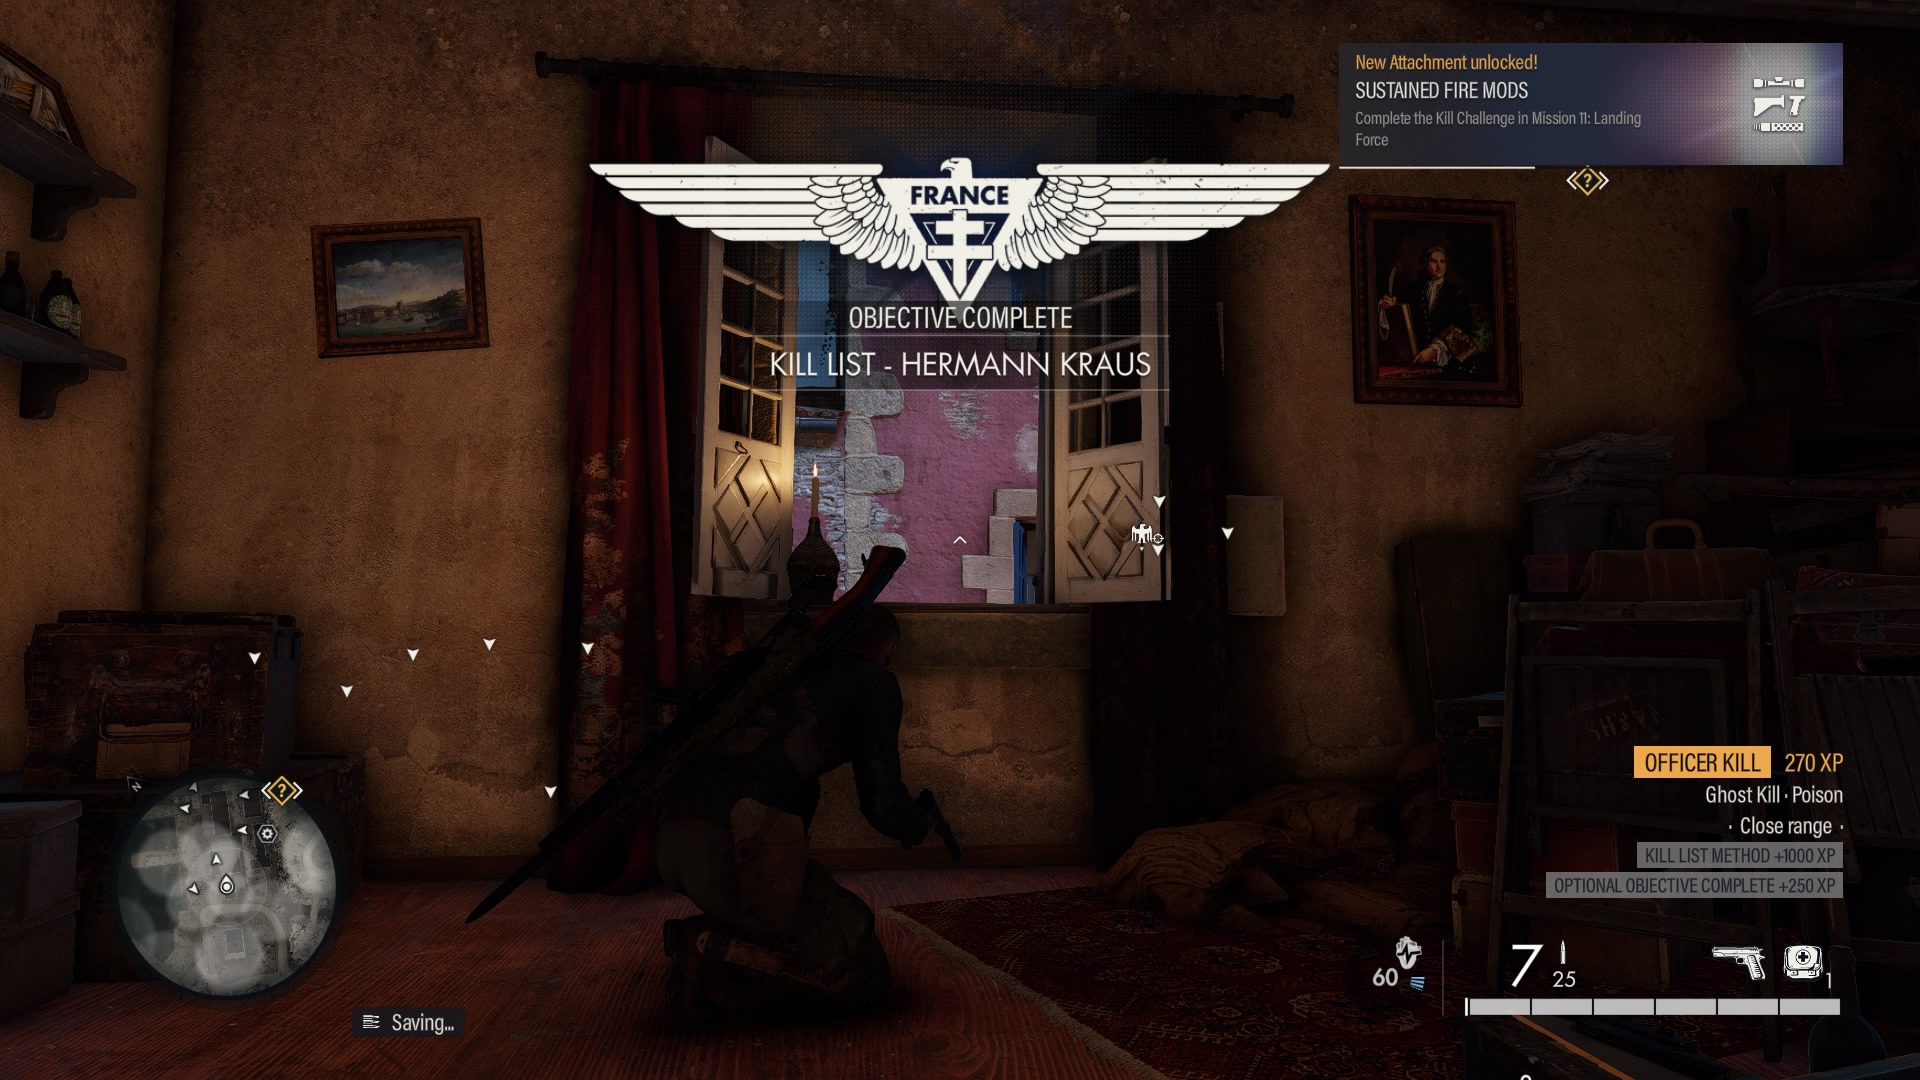
There is a balcony connecting this building to the next. Sneak over there then tag the soldiers patrolling below you. Get out via the back window and down into the small courtyard. There is a small archway and opposite it you will spot a generator. Next to it you will be able to climb down and get into the building Kraus in in.
Wait for an opportune moment to do just that, then, once Karl is hanging from the ledge, use the Jump-command to have him climb into the first-storey window. You will overhear Kraus asking a soldier to get him a bottle of wine. Move to the front of the first floor and find a balcony, where a cup of wine is waiting for your poison. Once that is done, ring the bell next to it and make your getaway through the bathroom on your left.
Get out through the window and jump to the next roof. Climb through another window and sneak down the stairs. There’s an officer there that will drop some nice loot. Move on towards the harbor fort and take out the mechanic and the soldier in the shed.
By that time, Kraus should be dropping dead.
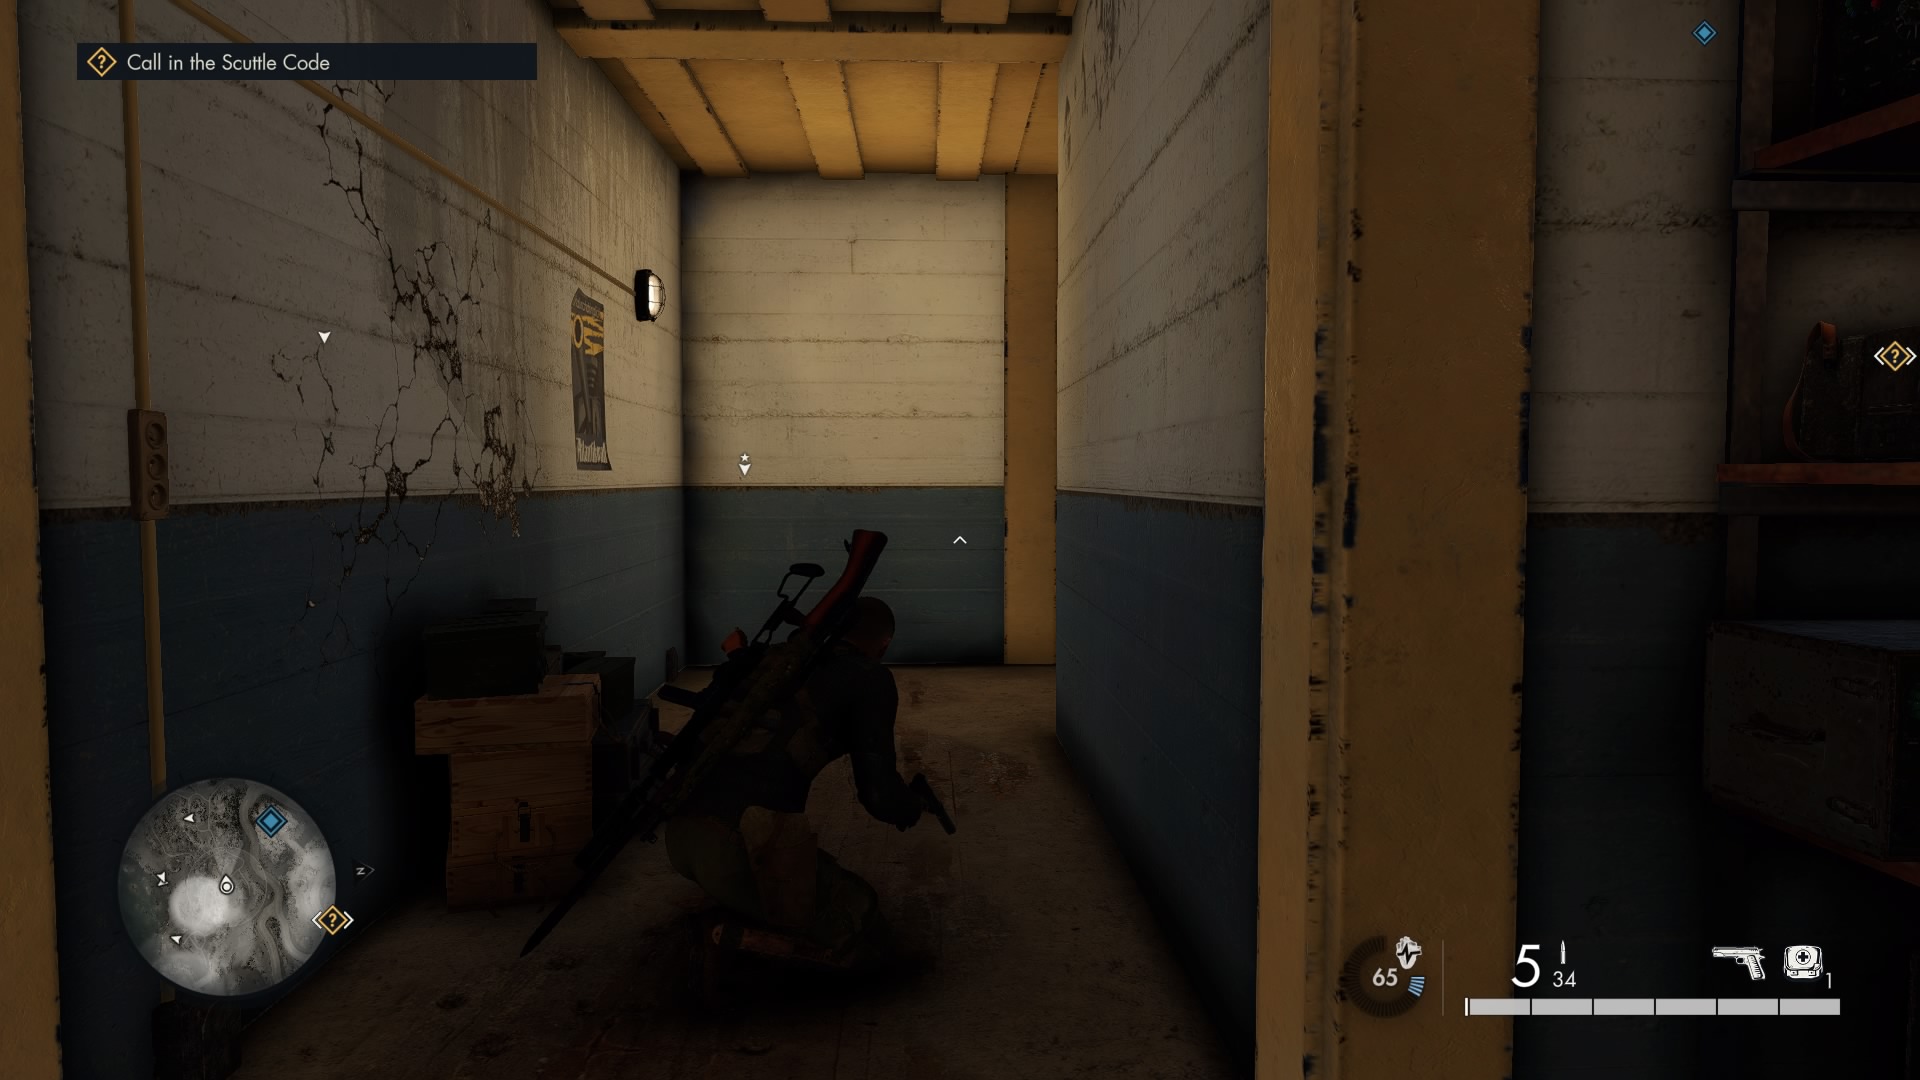
Silencing Radio Communications And Getting Part I Of The Scuttle Code
The shed is situated right where the dirt road leads into the village. Cross the road and sneak through the hole in the fence and into the high grass above. From there, tag the two soldiers on the bridge, the soldier manning the mounted machine gun next to the fort’s entrance and the search-light. Take out all of them using silenced ammo.
That will be almost all of the enemy covering your approach taken care of. The gun boat remains, but evading its search-lights just requires a little patience. Cross the beach towards the fort and sneak up and around its right side. You will overhear a conversation hinting at an inspection taking place right now. The officer conducting the inspection carries the first half of the scuttle code. So, no matter how you take him out, be sure to search his corpse.
On the right side of the fort you will also find a badly patched up hole in the tower’s base. Dismantle that barrier and sneak into the corridor to the left. In the first room to the right you will find the radio equipment as well as a radio operator. Take him out. Sneak into the next room and take out the next operator, too. Now, quickly move into the courtyard and silently take out the one soldier patrolling there. There is a crowbar on top of the crates he is inspecting. Important: You need to be fast there, since the officer will be arriving in the courtyard soon. And you do not want to get spotted.
Outfitted with the crowbar, return to the radio operations room and sabotage the radio system. That’s the next objective taken care of.
Next sneak back into the tower and climb up to the very top. You can search the sniper you dropped there earlier. Now, keep an eye on the officer and the guards accompanying him. He will step into a building atop the fort. Zip-line down once no-one is watching and take out the guard looking out over the ocean. Then quickly sneak into the room the officer vanished into and take out both him and the second soldier. You will now be able to pick up the first part of the scuttle code and be automatically directed towards the location of part two. Also, in the room you will find plans on additional defenses – two anti-air guns – that you will need to destroy.

Taking Out The First Anti-Air Gun And Getting Part II Of The Scuttle Code
Leave the fort through the main entrance and highlight the optional objective of taking out the anti-air guns. Use silenced ammo to take out the search light guarding the first anti-air gun. Now get over to the shed and look for a chasm sectioning the rock. There are some vines you can use to climb up. Sneak over to the high grass and hide there. Use your time to tag the enemies. There is one who will be patrolling around the anti-air gun. Sneak up to him and take him out, then take care of the gun. Use the slow burning fuse to light the satchel, though. Sneak back towards the tall grass and hide. A little towards the beach and the lighthouse you will see a bunker with a truck next to it. This is where you will find the second part of the scuttle code.
Carefully make your way over there and take out the officer in the bunker. He has the code to the safe in the lower level. Open it and pick up the second part of the scuttle code.
Activate The Scuttle Code and Take Out The Second Aniti-Air Gun
Sneak out of the bunker on ground level – not the level you found the safe on! – and keep to the left. You will pass two trucks. To your right, you will see a hole in the fence. That will come in handy later. For now, look to your left. There is the entrance to the installation. Be careful in there, there are a lot of guards. Keep walking up, but take the stairs on the back, to get to a closed door. You can look through the keyhole. There you will find the phone that is used to order the guns scuttled. There is an officer in there. Take him out quietly then give the order.
Get back the way you came and find the stairs leading up to the second anti-air gun. It is unguarded and when you walk around it, once the fuse is lit, you can zip-line to atop the bunker.
Disable The Lighthouse
On top of the bunker, sabotage the generator to soundmask your shots. Kill any guards on the bridge leading up to the lighthouse and any you can get on the beach. Also, take out the guard on the very top of the lighthouse. There are usually two to three guards inside the lighthouse, so be wary as you enter.
From your vantage point, you will spot a way up to the lighthouse bridge from the beach. You can take that route or the bridge, whichever is more opportune. Once you have reached the lighthouse, clear it of any remaining enemies, climb up to the top and deactivate the light.
And you are done!
I’ll be sure to try out a few other things on Le Rocher.
Until then, keep on playing!
Cheers
Vanessa
