
After the events in the Dubai-mission “On Top Of The World” Agent 47 and his allies are this close to shutting down Providence for good. All that remains is retiring the last of the three partners, Alexa Carlisle, and uncovering the true identity of The Constant.
SPOILER-ALERT
I have already played through HITMAN 3 on Professional difficulty, but I will only be detailing the missions in these posts. Nevertheless, there may be SPOILERS for the story itself.
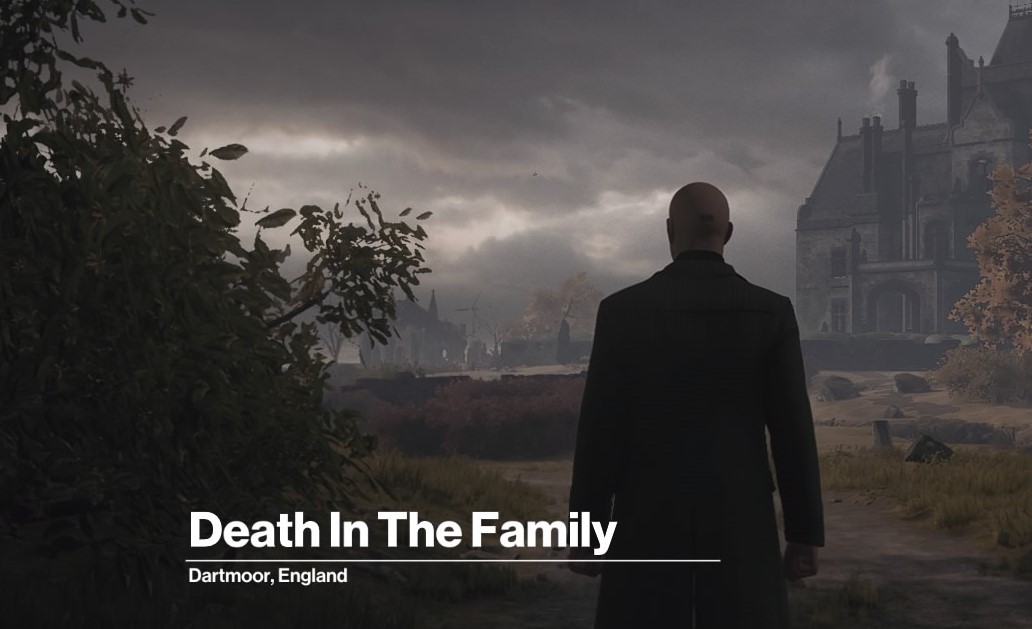
Well then, let’s start with the second mission “Death In The Family”. This title has triple meaning, though I won’t go into that in detail. Play it and you’ll know what I mean.
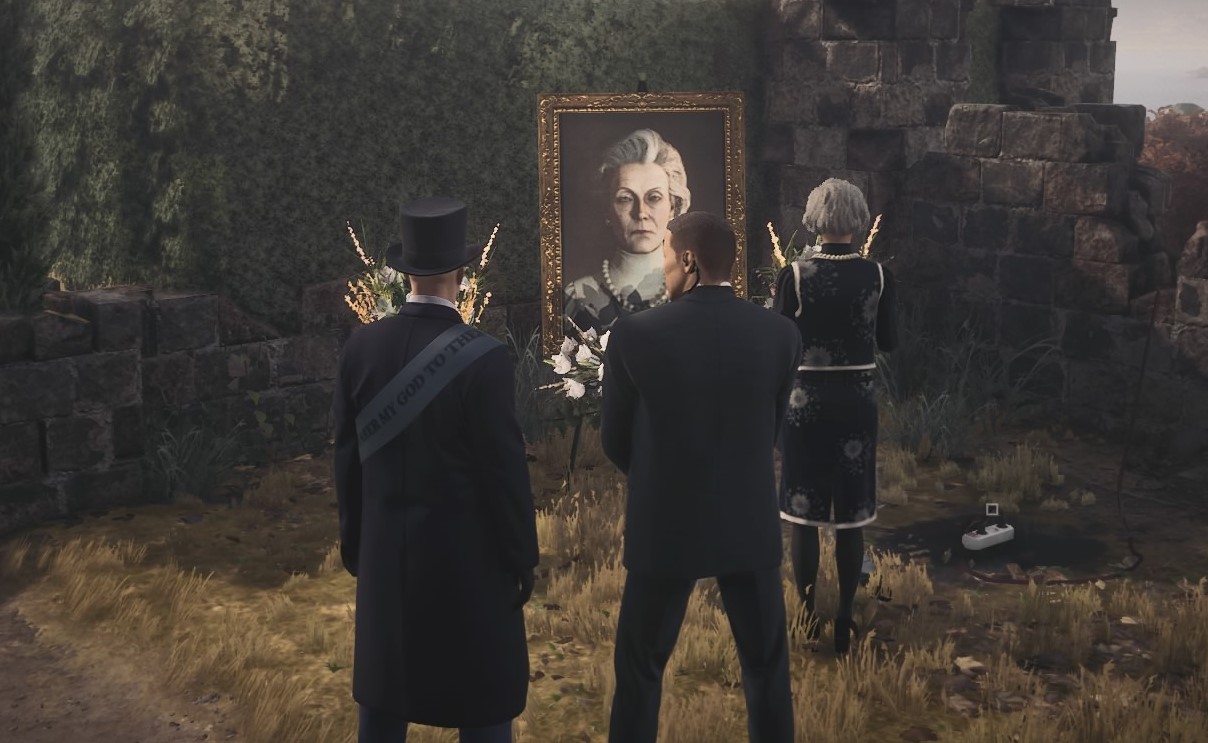
Fact is, that on the grounds of this Dartmoor manor a funeral is being prepared for the late family matriarch. who is not, actually, dead. This mission has two objectives: Eliminate your target and find her file on The Constant.
Three ways (and more) to eliminate Alexa Carlisle
As before, there are three story missions you can follow: “A Day To Remember”, “Means, Motive And Opportunity” and “Her Final Resting Place”. I have played all three, so I will take you through all of them, or at least show you the way I tackled them. My favorite one was “Means Motive And Opportunity”, by the way, because you will indeed be presented with a multitude of opportunities and means with which to retire Madame Carlisle.

Story Mission: “Means, Motive and Opportunity”
When you first arrive on you fancy motorbike, the seemingly only possible point of infiltration is the front gate. Which is a no go. Better to sneak through the heather and find your way across the creek surrounding the manor. Look out for sandy patches. There – and only there – you will be able to cross.
If you want to try “Means, Motive And Opportunity”, as I did during my first playthrough, approach the main gate and accept the story mission involving the private investigator summoned by Carlisle herself.
If you can, use coins to lure the PI into the heather and take him out to take his disguise before he is being greeted by a maid. If you did not pack enough coins or did not throw them to the best effect – like myself – you will have to find another way to get to him.
Unfortunately, the only disguises you will find outside the manor won’t qualify for walking around the main house. But there are a couple of windows on the ground floor that are conveniently left open, so you can use one of those to sneak inside. An appropriate uniform would be that of a bodyguard or a member of the staff.
On the ground floor, you will find an opportunity to acquire the latter in the kitchen. Lure out the staff member then choke him out, take his uniform and hide his unconscious body, preferably before the PI shows up. Because right there is your opportunity to take his disguise. Use a coin to lure him out of sight then choke him out and place him next to the staff member. Now all you have to do is approach the head butler.
Before you do that, though, make sure to use the staff member’s disguise to pick up some emetic rat poison in the kitchen.
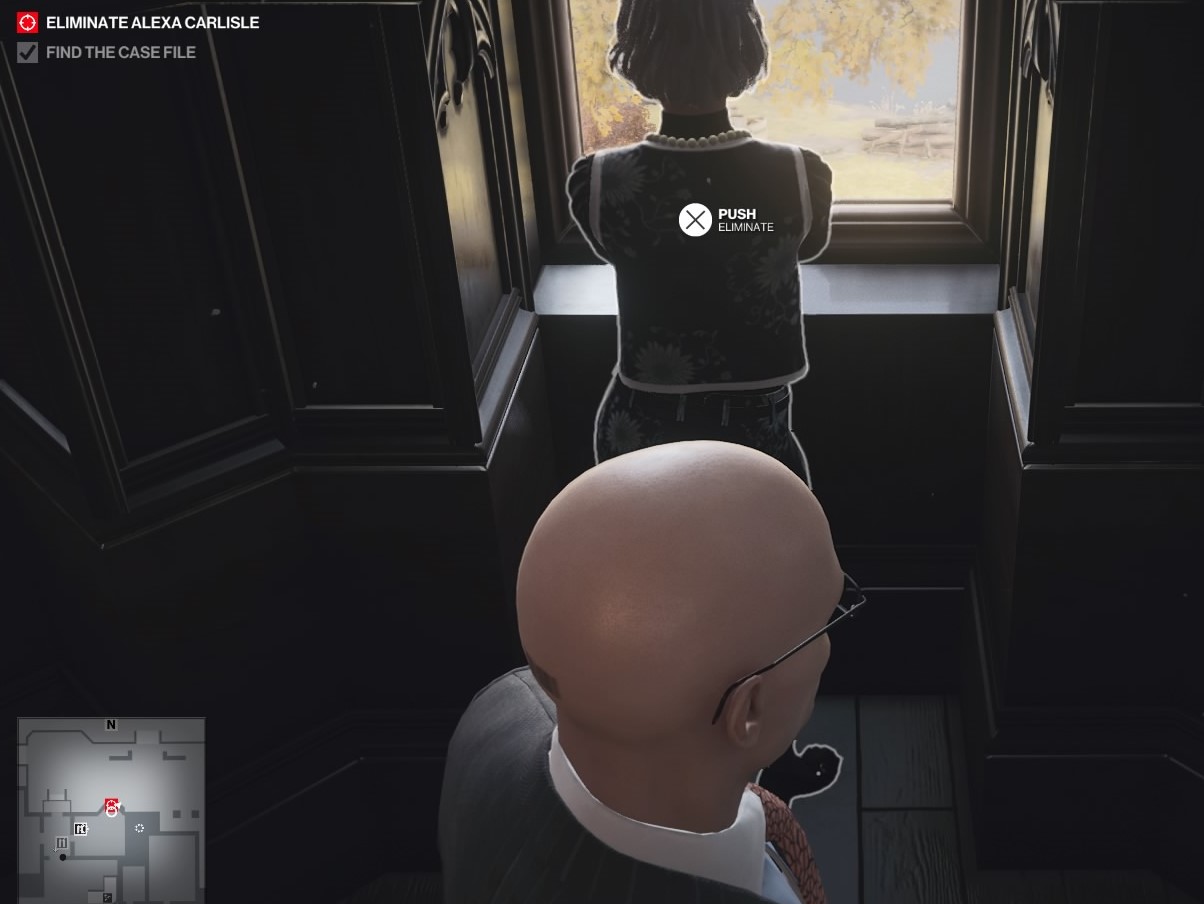
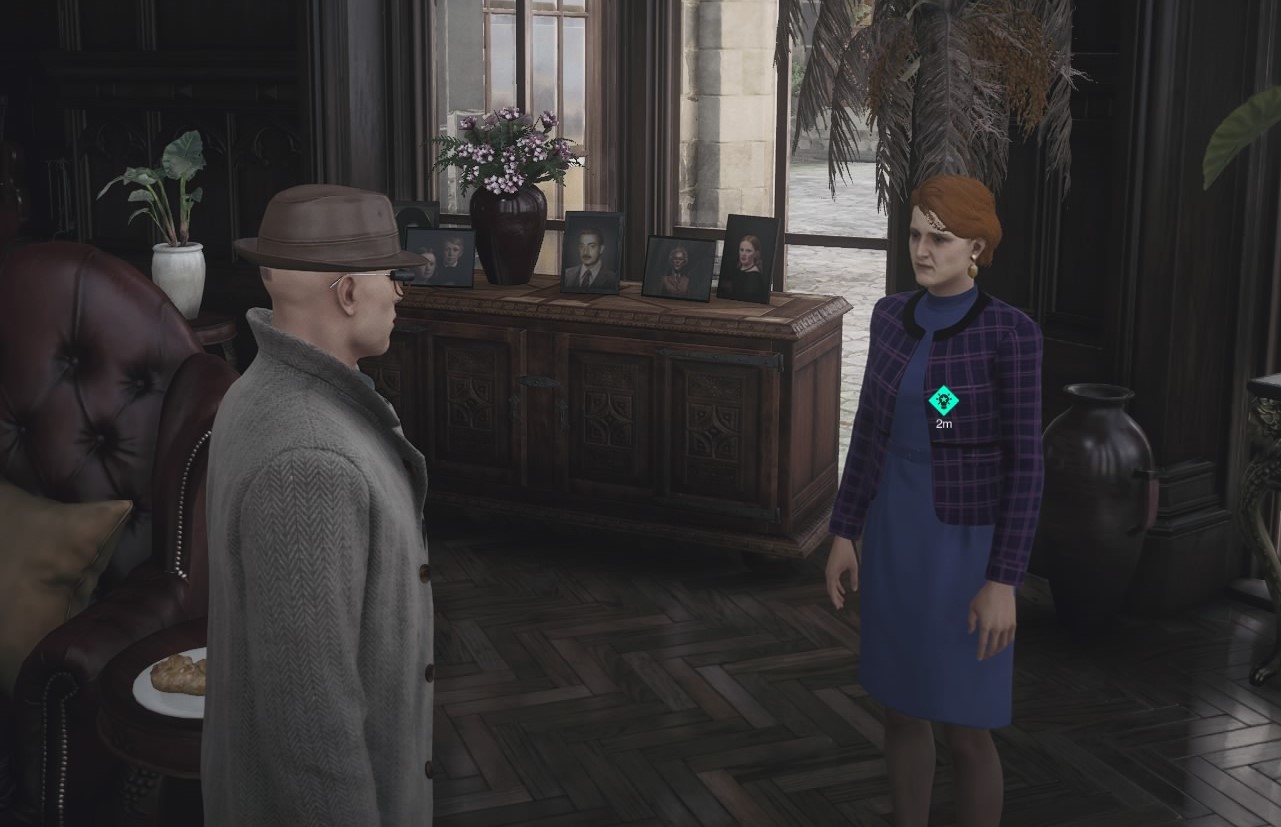
Now, as the PI, talk to the butler. He will set you on an investigation involving another death in the family. Make sure you follow the instructions and respect the boundaries given to you by the bodyguards. You may accidentally open the door to the room across from the first area of investigation and encounter the lawyer. If so, you could use his disguise to lure Alexa Carlise into a trap that would see you push her out of a first floor window for an accident kill or strangle her for the piano man-challenge. Make sure to take out any bodyguard in that room before you attempt that.
Now. How to proeceed. Starting from the first investigation area Diana will alert you to the rooms of the suspects in the possible murder case you are investigating. These doors are all locked and you will have to find other ways to infiltrate them. In one of those guest rooms you will come across a cane with the bulldog handle. Pick that one up as it will give you access to hidden rooms throughout the manor, including one on the uppermost floor.
Continue your investigation of the rooms and question the suspects. You will also have to explore the greenhouse. That one is locked and the best way to infiltrate is to wait until one of the suspects enters, then again wait until that person leaves and step into the greenhouse while the door is still open. You will gain very useful intel there. Also, you can pick up the key for the boat there and unlock another exit.

Question suspects, 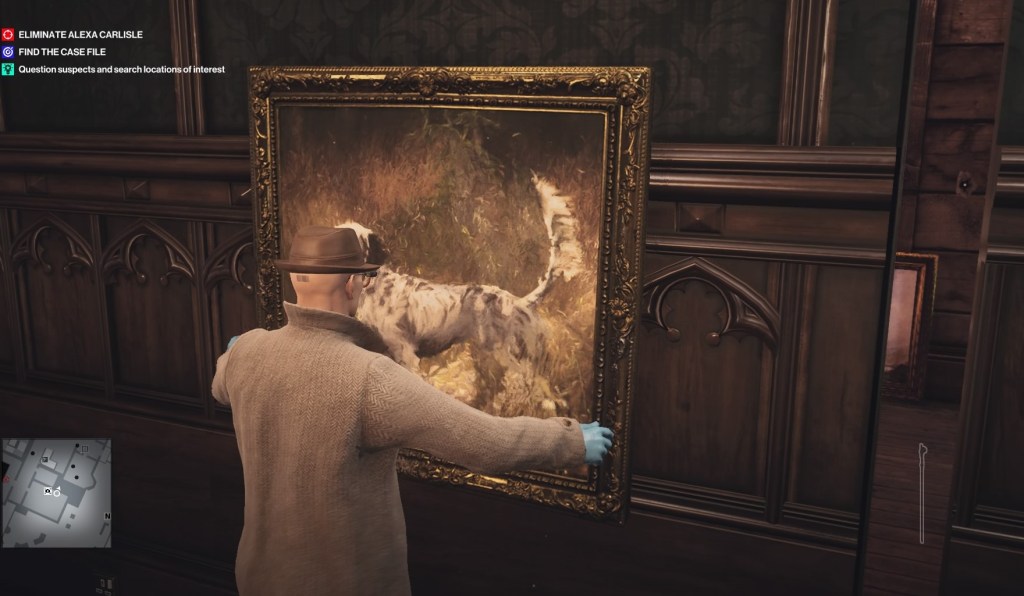
find hidden rooms 
and solve the murder 
for a surprise reward.


Diana will then ask if you want to report to Carlisle or uncover more secrets. If you choose the latter, you will have to get rid of the butler to enter his office ad find even more clues. This is where the emetic rat poison would come in handy.
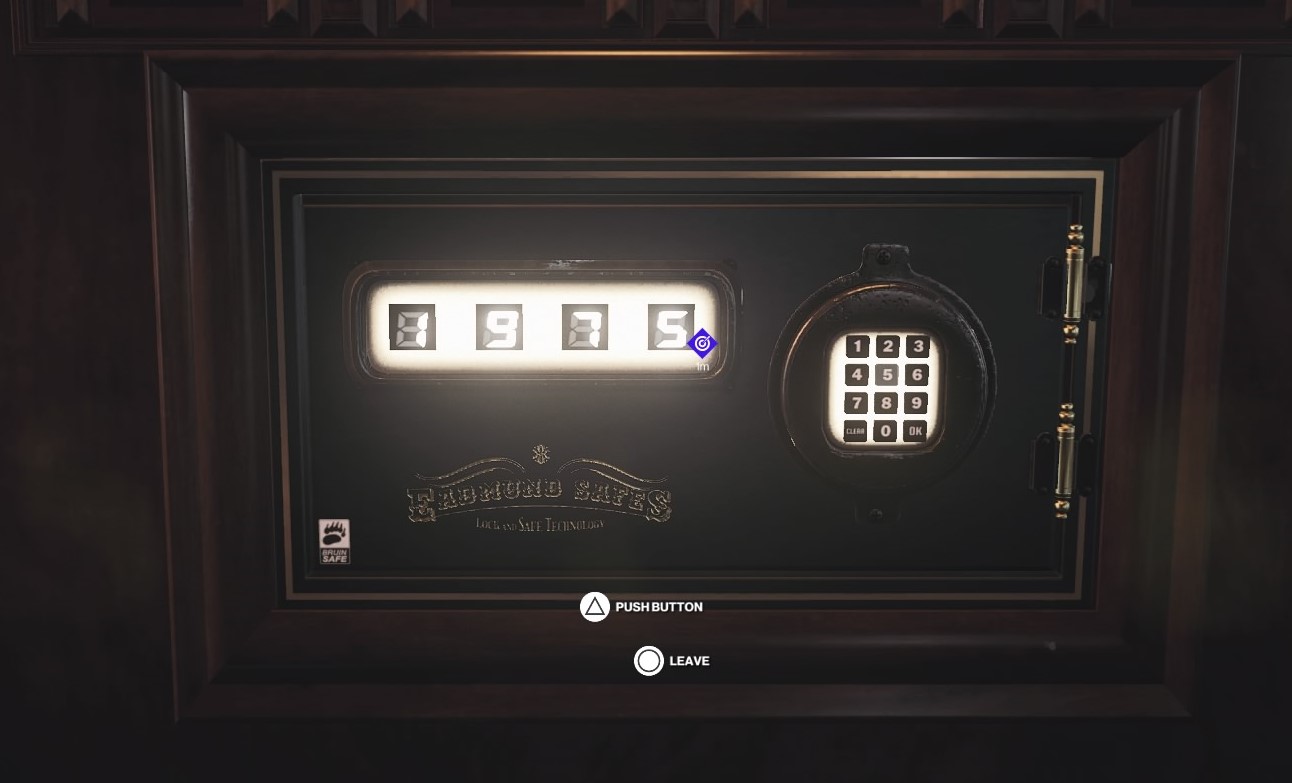
Any way you choose, report to Madame Carlisle in her office upstairs (you will not be frisked). You are then given a choice then, that could make things easier for you. That was the choice I made and so I recovered the file on The Constant with no problem at all. In case you have to come back for the file later, here is the combination for the safe in Madame’s office.
Now, once your business is concluded, you are – miraculously, I should say – left to wander around the house. Use the cane to gain access to the hidden room located left of Carlisle’s office. Wait for her to step into the soundproof room beyond and eliminate her any which way you choose. Drag her body into the hidden room and hide it. Then head for the exit.
Congratulations, you just beat the second mission of HITMAN 3!

Story Mission: “A Day To Remember”
The second story mission will put you in the role of a photographer hired to take a family portrait. You will find him close to the greenhouse. He has, unfortunately, come across technical difficulties. You can help out, if you wish. First, though, get rid of potential witnesses then lure him into the maze, knock him out and hide his body. Take his disguise and look for a screwdriver next to his equipment.
Once you have obtained that, walk over to the left corner of the manor. You will find a fuse there. Pick it up and use it to power the photographer’s light boxes. Take a picture of a maid kind enough to pose for the test shots, then wait for her to leave to inform the lady of the house and her guests that everything is ready.

Use the screwdriver to sabotage the elictricty, then open the water valve next tot the fountain to get things cooking. All you have to do then is wait for everyone to take their places, before your flashlight takes care of Madame Carlisle. “One For The Ages”-challenge complete.
Next, you have to get the file. Which is not that easy, since the photographer is not allowed inside the house. Assuming that you have previously knocked out one of the guards, take his disguise and find a conventient pipe to climb up to the next floor and then the next, until you find the entrance to the uppermost floor. You will probably have to take out a bodyguard on the way, so do that and take his disguise for easier access to Carlisle’s office (to the right as you come up the stairs).
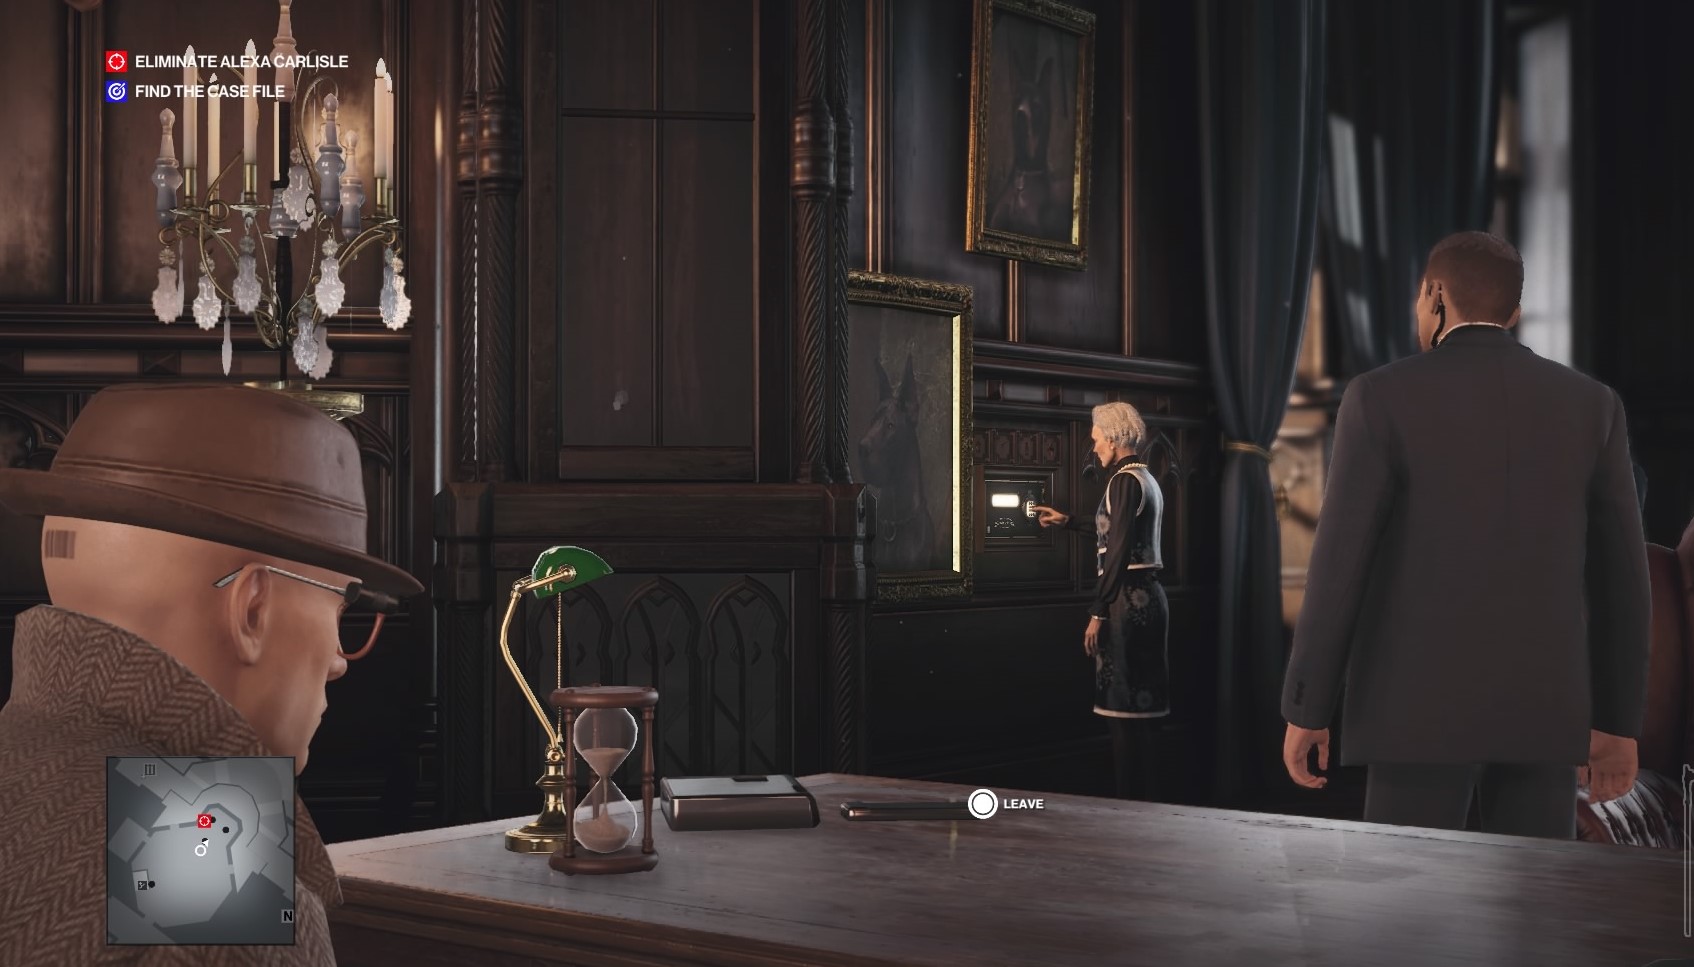
In Madame Carlisle’s office you will find a button in her chair that reveals her safe. This is where she keeps the file on The Constant. Above the safe, there are symbols relating to items inside the office. Find them and zoom in on the numbers next to them. Use these clues to unlock the safe. Pick up the file and leave.

Story Mission: “Her Final Resting Place”
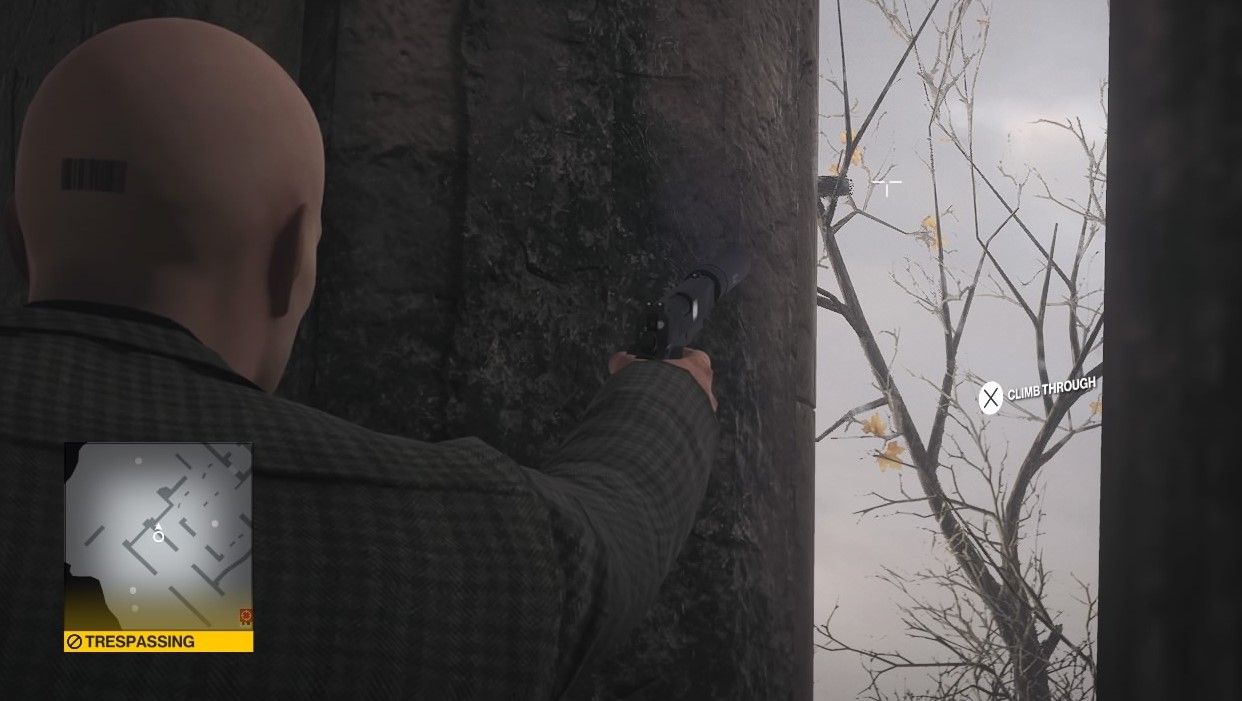
This story mission is my second favorite. This time, instead of the greenhouse, find the chapel and graveyard. Hidden in the heather you will overhear a conversation starting you on the story mission. Accept the mission and proceed with taking care of the ravens nesting next to the chapel. All you have to do is to destroy their nests by shooting them with your silenced pistol. Don’t let yourself be seen.
Next, find a new disguise and take care of first the groundskeeper then of the undertaker himself. As the undertaker, have a maid summon Madame Carlisle. While waiting for her to arrive, pick up a brick or two. She will be accompanied by her bodyguard.
Wait for an opportune moment to take him out from a distance using a brick. Preferably when Madame isn’t looking. Then take out your target and bury her in her grave to complete the “Grave Mistake”-challenge. Also, don’t forget to pick up the undertaker’s car keys to complete the “Last Responder”-challenge.
Next, find a disguise to get close to the manor and either infiltrate the office on the uppermost from the outside or find a bodyguard’s disguise to make it a little easier for yourself. Open the safe using the clues mentioned in the second story mission, then leave.
And you are done!
Next up is the third mission “Apex Predator”.
Until then, keep on playing!
Cheers
Vanessa
