
Having taken care of the three Providence partners in the previous missions “On Top Of The World” and “Death In The Family“, Agent 47 and associates are about to prove a point: there is only one hunter in this game. I love this aptly named mission, as this is all about the hunt.
SPOILER-ALERT
I have already played through HITMAN 3 on Professional difficulty, but I will only be detailing the missions in these posts. Nevertheless, there may be SPOILERS for the story itself.

No rules apply
The third mission of HITMAN 3 brings Agent 47 to Berlin, or, more specifically, to a night club close to the German capital. You will not find any story mission to follow here. All there is to do is hunt and kill, to send a message.
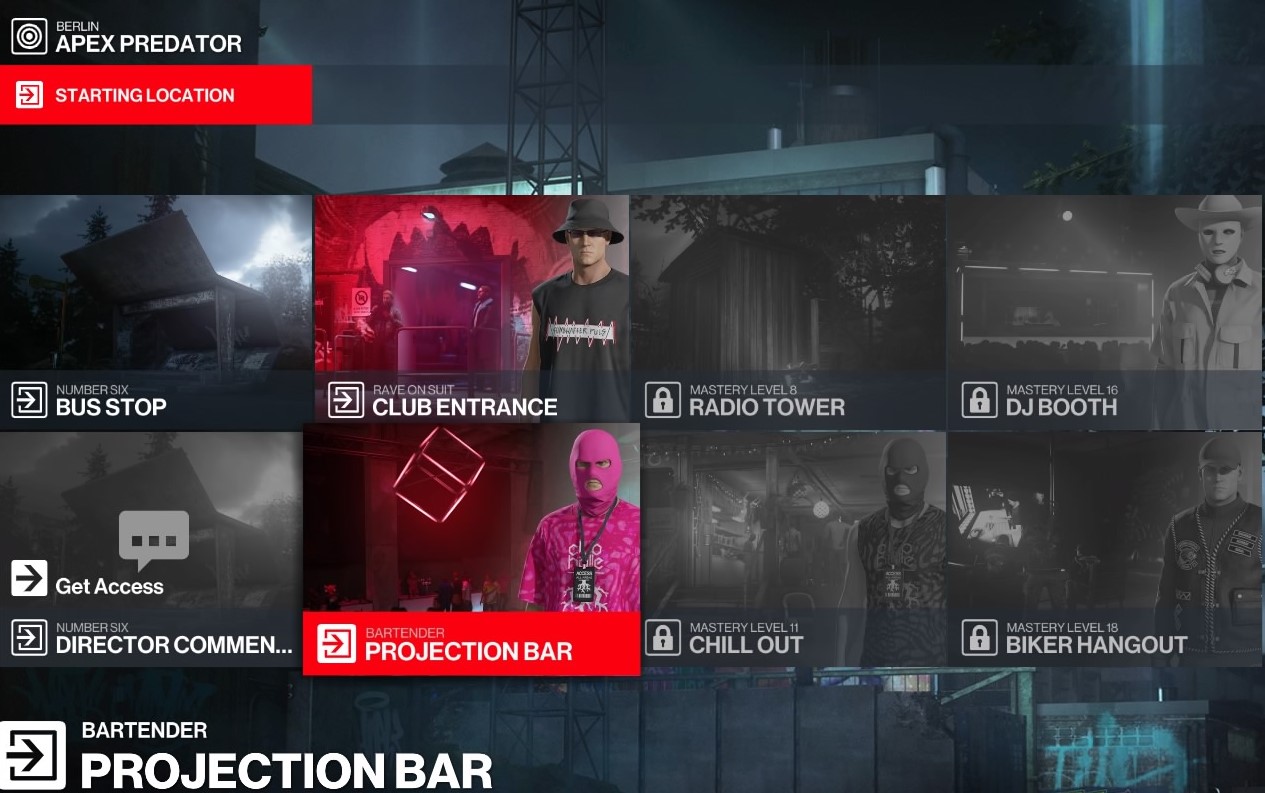
I have played this mission a couple of times and will likely keep updating this post as I find new ways to eliminate targets. For now, I would like to take you through my Suit Only-playthrough and give you a hint of what to do to make things easier for yourself once you have unlocked the Projection Bar as your possible starting point.
Suit Only – No Invitation
From the starting point at the bus stop, try raising your contact. Next, search about the gas station. Then head towards the car that was very obviously involved in some sort of accident. Follow the headlights to make a disturbing discovery. Go further down the path and you will be contacted yourself.
Agent 47 will then make the decision to face the crowd rather than disappear. So, brace yourself, as this is one tough, exhiliarating ride with a lot of possibilies, high risks and very little guidance. Your job, then, is to infiltrate the club and take out at least five hostile agents pitted against you.
The first opportunity to score a kill will provide you with an ear piece and therefore a direct line to the enemies’ comms chatter. This will be very useful indeed for a time. That’s Kill 1.

Walk towards the club and look out for the queue lining up before the entrance. To the left there are two guards who will discourage you from exploring further. Turn right and scale a piece of broken wall. Then sneak past the guards and keep out of sight.
There is a crane up front. Head in that direction. Pick up bricks and a crowbar on the way.
Hide in the bushes and observe. Soon, you will identify your next target. Now, remember, you want to keep this clean and stealthy, if possible. Use a distraction to lure the agent into the bushes then take him out. That’s Kill 2.
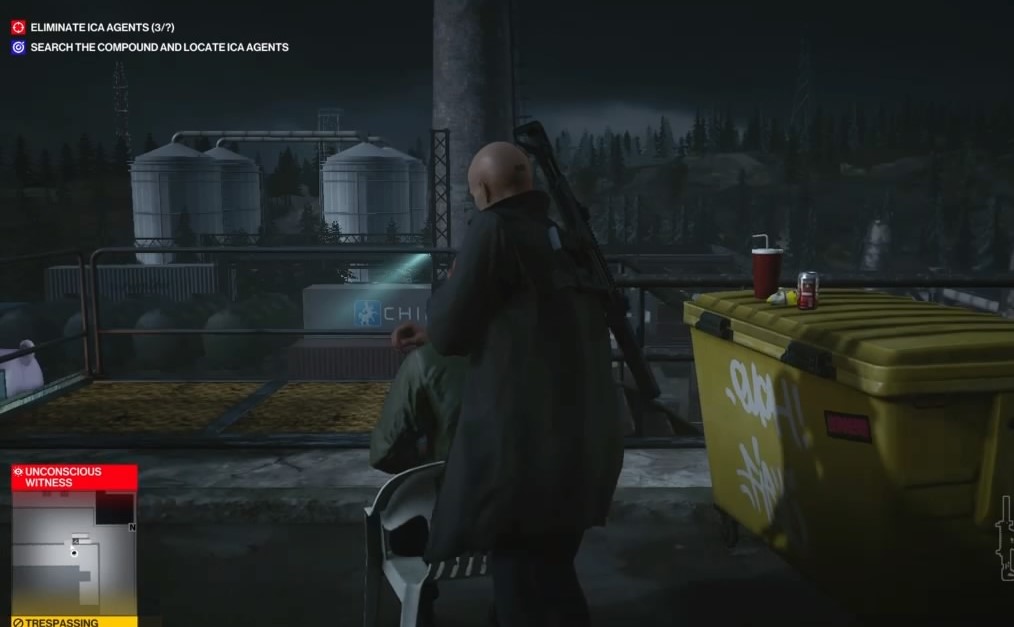
Pick up his equipped tools and sneak towards the back of the club. Keep to the left and out of sight.

Once you have passed the two guards there, stay on the left side and look out to the right, behind a white van. There you will find a security camera. Use the silenced gun you took from your first victim in the woods to take it out. Then move over and scale the shipping container to the right side of the camera.
Sneak a little further and you will spot two guards. One is patrolling that section of the roof, the other is stationary. There is an open door to your left.
To your right you will find a set of stairs. You could have snuck up there, crossed the walkway and used a pile of bricks to take out Target 2, by the way, to complete a challenge. You could have also used a fuse to power the crane and involve him in an accident. I tried that, actually, but failed.
Now, back to the door to the left. Sneak in there and use the crowbar on the fusebox once the patrolling guard is out of sight. Remove the fuse. The other guard will come over to investigate. Silently knock him out (he is not a target) and hide his body.
Take your time to observe the patrolling guard. He will be revealed to be Target Nr. 3. Carefully remain hidden until you are good to move on him then take him out. Also, pick up the keys to the radio tower, if you wish to use that to snipe a couple of agents from up there. Which I did not do during this playthrough. Still got your crowbar? Very good.
Sneak along the patrol route of the agent you just took out. There will be a regular guard further down. Quietly take him down, move around the right corner (where you will find a place to hide his unconscious body), then climb down a ladder.
Move left and slowly make your way down the stairs. Take out another regular guard and hide his unconscious body.
Moving straight ahead and slightly to the right will give you the opportunity to drop down onto a shipping container, out of sight. Do that and drop to the ground at the end of it. Move straight ahead into a trailer.

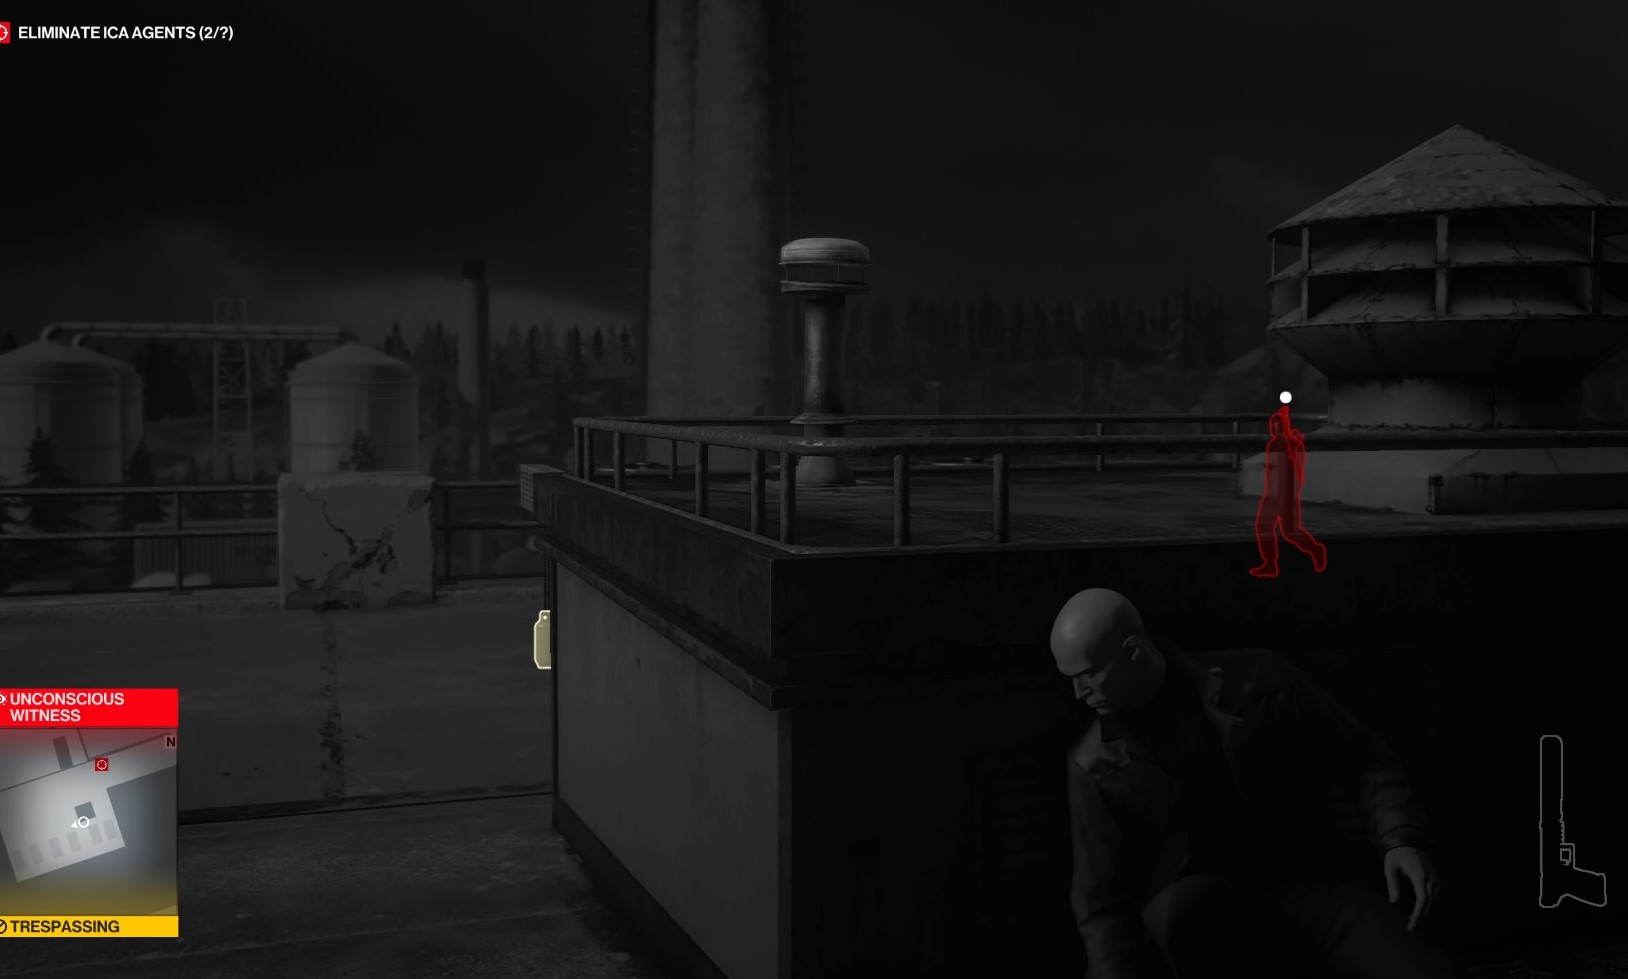
There is an open window you can use to get outside the trailer, where one of your targets is having a smoke next to the canal. Unfortunately, there is also a witness.
So I did not manage to end this one stealthily. Once the moment was right, I stabbed the agent (Kill 4) and his body fell into the water.

I then quickly went back the way I came, right atop the shipping container, and waited for a bit, until things had calmed down. Because from that vantage point, you will be able to shoot another agent in the head with your silenced gun, which is your Kill 5.
This is when all of the agents will pull out. Point taken.

Make your way back to where you came from but take care, because the agents will be evacuating right where you first infiltrated the club’s grounds. Let them pass. Then carefully make your way to the exit.
And you are done!
Like shooting fish in a barrel
What makes “Apex Predator” such a glorious mission is the amount of effort you have to put into exploring the club, all of the opportunities and identifying your targets. The ear piece helps, certainly, but you will always have to wait until they check in until you can properly identify the agents. Now, there is a very simple way to tag all of your potential targets at once…
After you’ve unlocked a new starting point 47 will already come equipped with the ICA ear piece. Thanks to that, all of your potential targets will already be highlighted in red, when you focus.
Rule of Threes
Having unlocked almost every feat and challenge in this mission, I thought I would walk you through one of them. That is the “Rule of Threes”-challenge, where you have to get to the radio tower with a sniper rifle and shoot three agents, namely Tremaine, the sniper perched on the top level in the right corner of the bikers’ hangout, Thames, the agent hanging around the crane to the left of the club entrance and agent Green, who is patrolling the roof of the lower building up front. I tried this once after having offed the sniper to get his rifle, but realised only later that he was supposed to be one of the three. Well. Also, don’t shoot the agent on the roof first. Though he seems an easy target, shooting him will result in a fire fight with club security. Nobody wants that, right?
Now, to get this one stealthily, best come prepared. Start as the biker, if you have unlocked that location, and bring along a vial with a sedative. Anyway, you will want a guard’s disguise when walking over to the radio tower to play it safe, since carrying a sniper rifle is a little too obvious, right? But you can do this suit only, you just have to be quick and decisive. For this walkthough, I am starting at the bus stop.
Make your way to the body of the agent illuminated by the headlights of the crashed car and pick up the knife. Move toward the club, take the call from Olivia, then move on. Sneak up to agent Price and take him out. Pick up his gun and headpiece. Then make your way through the queue lining up in front of the club entrance. Keep left and sneak around the two guards there. You will see Thames ahead. Avoid him and sneak around the back to get into the loading area in front of the biker hangout. Use the gun you picked up to destoy the camera. Then climb atop the shipping container and use the ladder to get to the roof where Green is patrolling. Turn immediately right and you will see stairs leading to the overpass. Next to the stairs you will find a crowbar. Pick that up and make your way across the overpass and atop the roof of the biker hangout.
Move across the roof and sneak down the stairs. Now, use your senses to spot the guard patrolling that area where Tremaine is also located. Wait for the guard to pass the door you are hiding behind, then quickly sneak up to him and choke him out close to the running generator, the sound will mask your attack. Hide the body and the gun. Then sneak up behind Tremaine, crowbar at the ready. Once his back is turned, take him out. Pick up the radio tower key and the sniper rifle. Then, and this is important, observe the guard in the next room. The door to that room is gone, so he can look inside whenever he returns from his patrol. Which is when he will find Tremaine and wake him up. Which is what we need him to do.
Drag Tremaine’s unconcious body over to the door, timing it so the guard just left his post next to it so he won’t catch you in the act. Then quickly go back the way you came, Sneak past Green and Thames, and keep sneaking until you have reached the forest. The two guards guarding the entrance there will grow suspicious of you because of the rifle, but you can hide from them in the crowd.
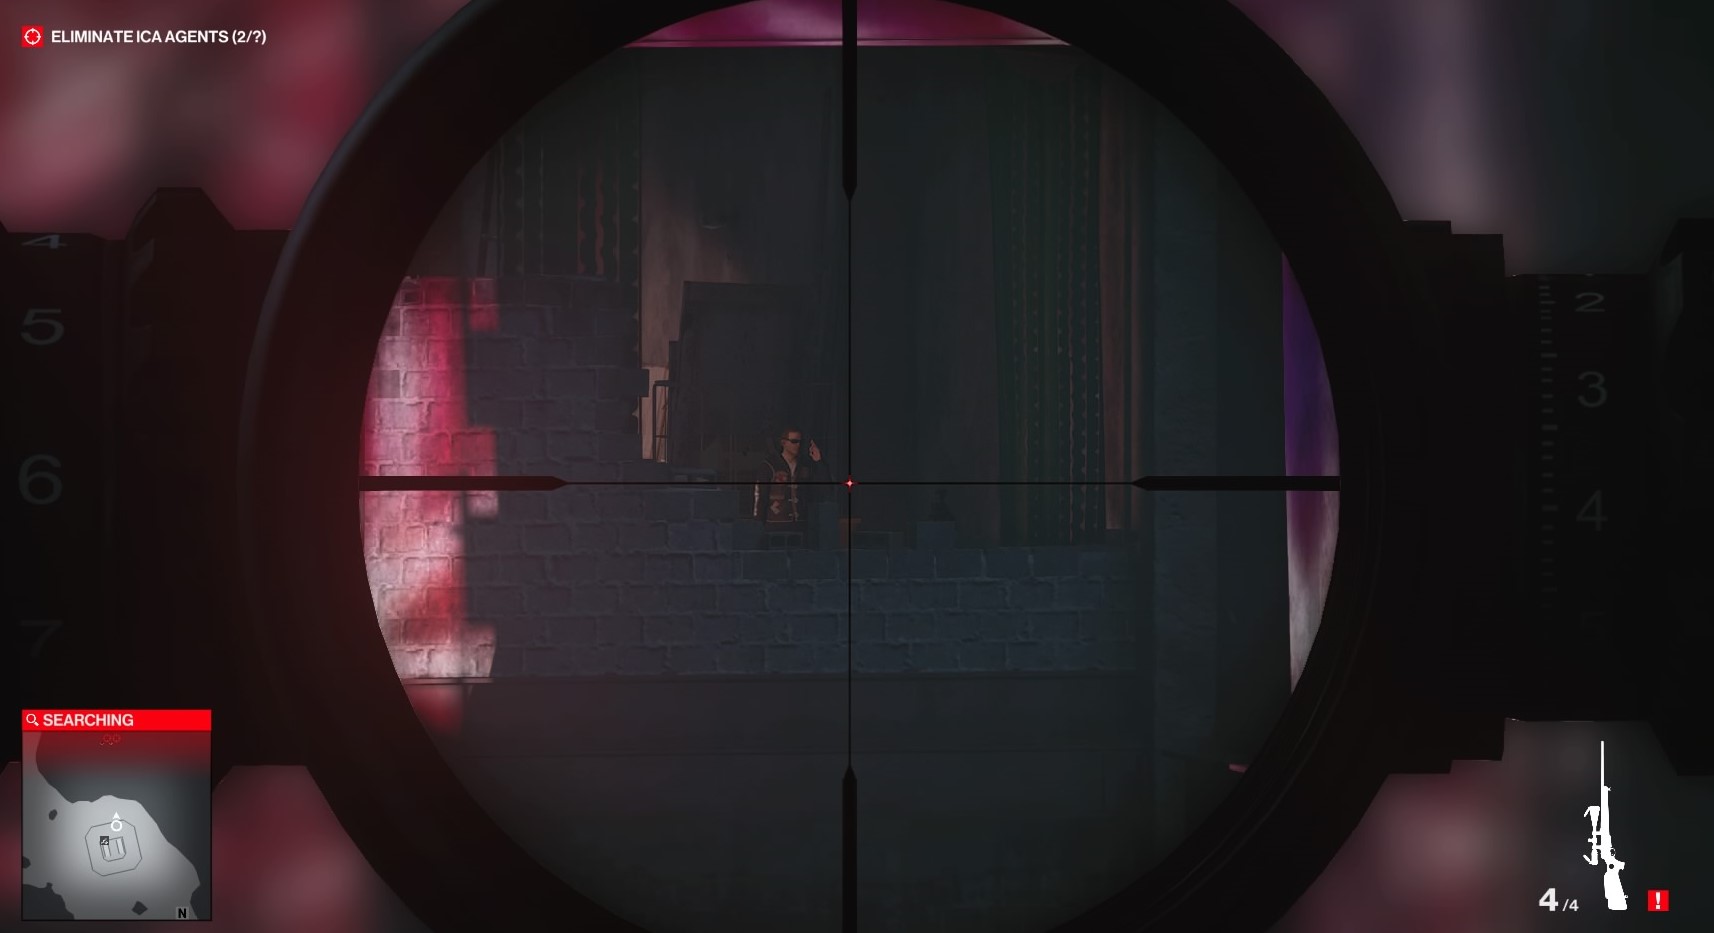
Walk to the tower, climb up the ladder and stairs and line up your targets. Start with Thames, then take out Tremaine and lastly Green. Those are, by the way, four agents down already, sicne you killed Price already beforehand. If you want to make it to the five needed to complete the mission, silently take out agent Rhodes in the growhouse back in the biker hangout (one level below Tremaine’s location).
Happy hunting!
Next up is the fourth mission “End of An Era“.
Until then, keep on playing!
Cheers
Vanessa
